Prepare to Use User Analytics (BigQuery Connection Steps)
Enable BigQuery in Google Cloud and Export GA4 Data
Section titled “Enable BigQuery in Google Cloud and Export GA4 Data”📌 To use User Analytics, you must export GA4 data to BigQuery.
- If you have not exported GA4 data yet, start from the beginning of this page.
- If you have already completed GA4 BigQuery export, you can start from the Amethyst setup section.
Because this setup uses BigQuery, BigQuery usage fees may be charged by Google separately from your Amethyst fees. BigQuery includes a free tier of up to 10 GiB per month.
Reference: Pricing | BigQuery: Cloud Data Warehouse | Google Cloud
📌 If BigQuery export is already configured, start from the Amethyst connection setup.
- Log in to the Google Cloud console and create a project
Google Cloud: https://console.cloud.google.com/
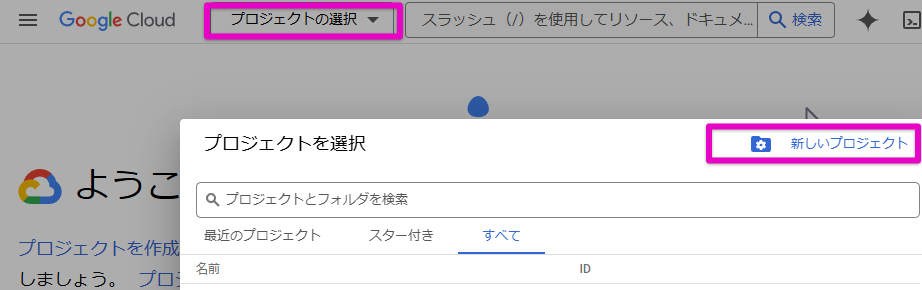
After logging in, open the project selection screen. Next, select “New Project.”
Choose a project name, ID, and location, then click [Create].
- Check that the BigQuery API is enabled
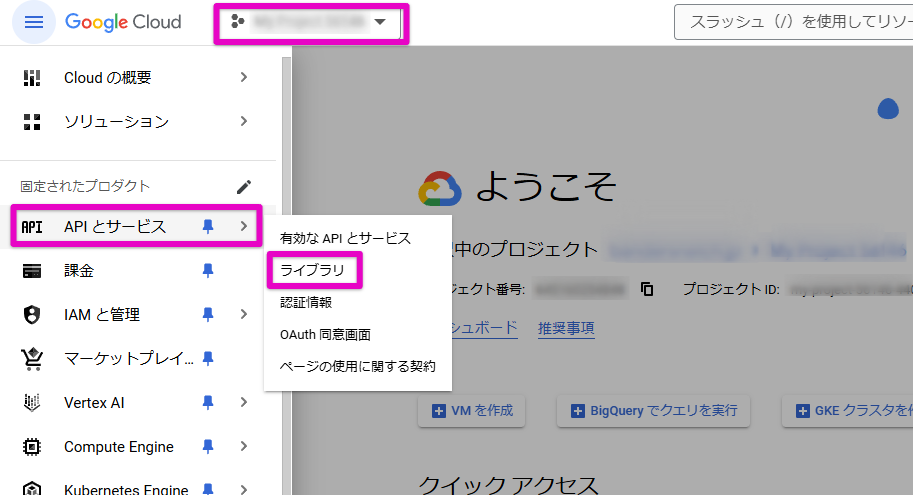
Select the project at the top of the screen, then choose APIs & Services > Library from the left menu.
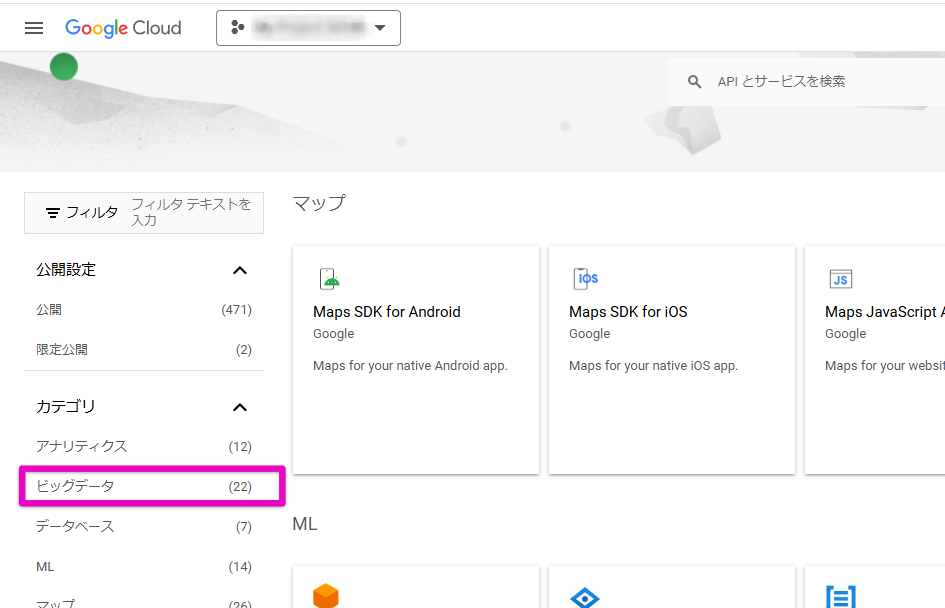
In the API Library, select Category > Big Data.
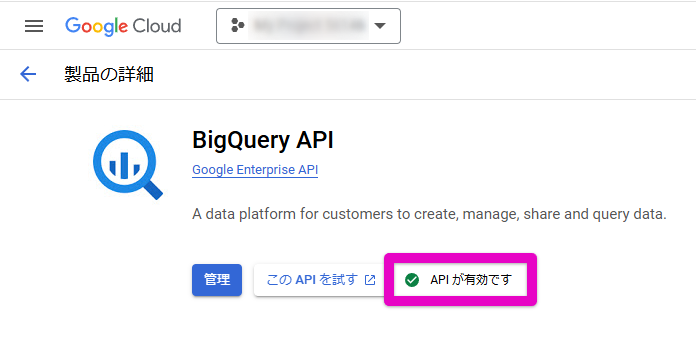
Select “BigQuery API.”
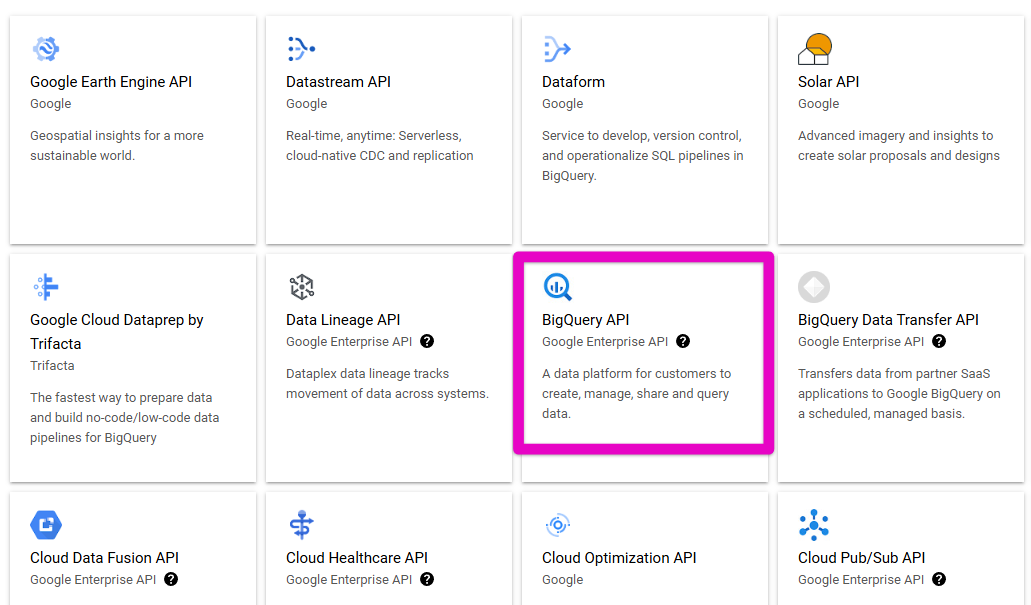
Usually, “API enabled” is displayed as shown below. If so, the check is complete.
If it is not displayed, enable the API.
- Configure GA4 export
The following is official Google documentation. Please read it before continuing.
[GA4] Set up BigQuery Export - Analytics Help
[GA4] Set up BigQuery Export - Analytics Help
Article contents: Step 1: Create a new Google Cloud console project and enable BigQuery. Step 2: Create the project to use for BigQuery Export.
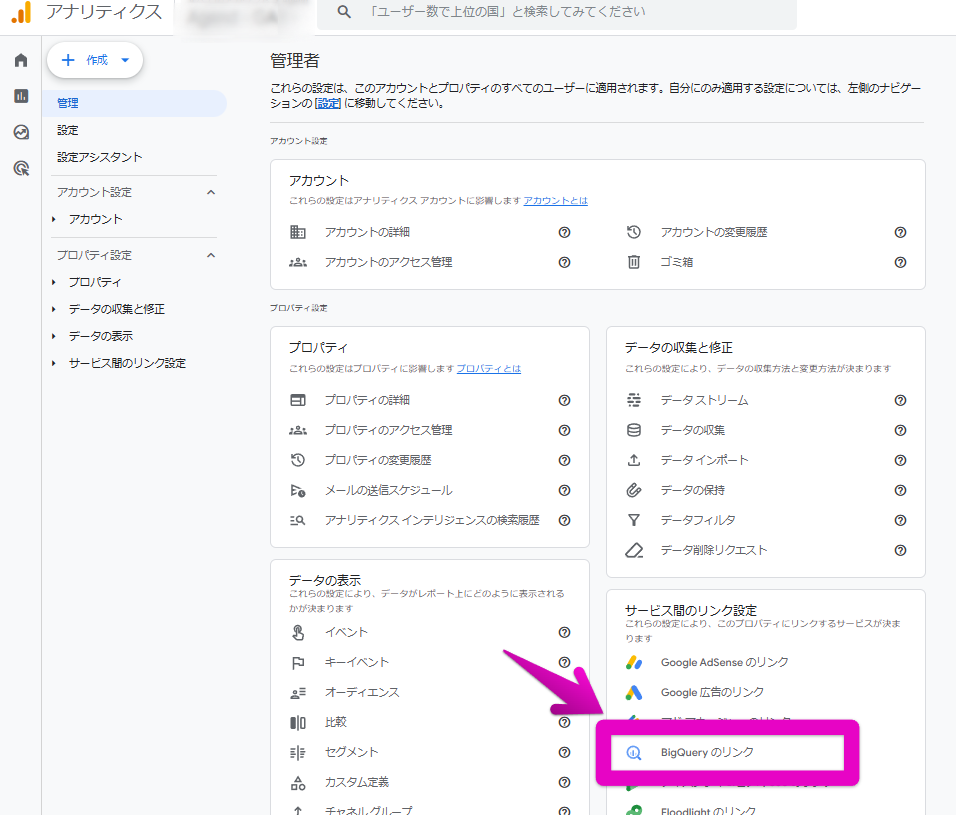
Open GA4 (Google Analytics), then select “BigQuery Links” from Admin.
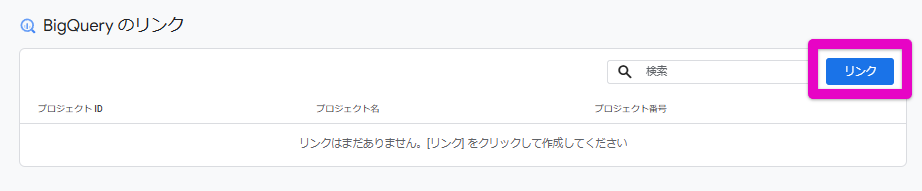
Click the [Link] button.
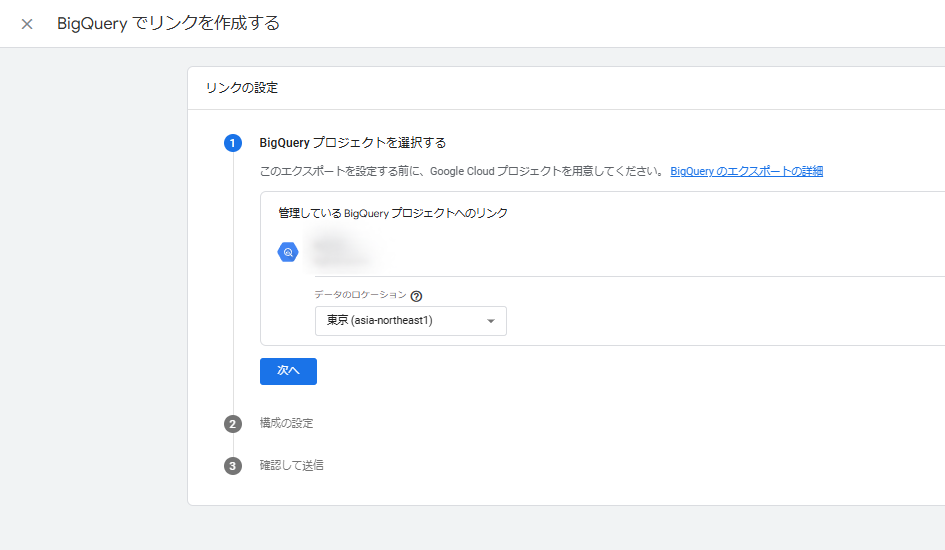
Click “Choose a BigQuery project.”
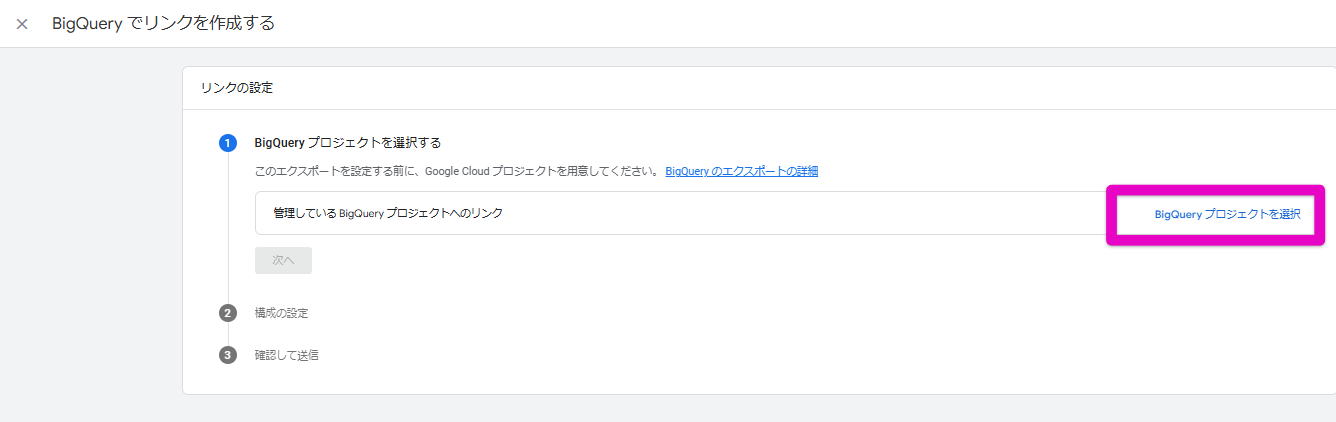
After selecting the project you created, choose the data location (US or asia-northeast1), then click [Next].
Select the export type.
If you do not need real-time information, select “Daily.”
(Data is exported once a day from the day after it is measured.)
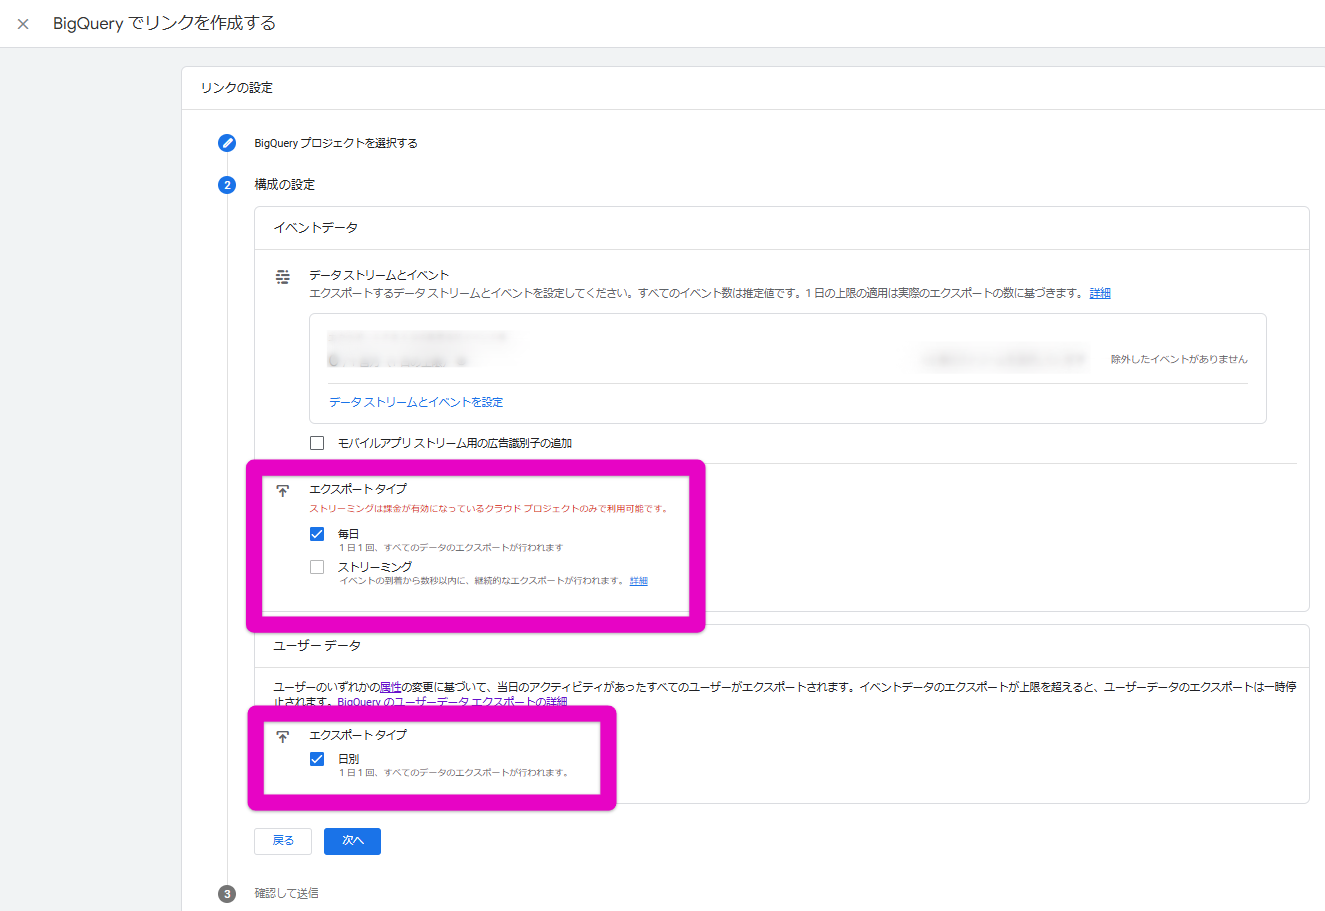
Click “Next” and complete the setup.
This completes the setup for exporting GA4 data to BigQuery.
💡 If no data has been exported after configuring export, you cannot connect it to Amethyst yet. Continue to the next step on the following day or later.
On the following day or later, proceed to connect with Amethyst.
Amethyst Connection Setup
Section titled “Amethyst Connection Setup”Follow the steps below in the Google Cloud (BigQuery) console to grant the Amethyst service account access to the GA4 dataset.
💡 You need administrator permissions for the project.
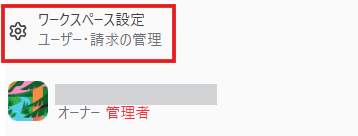
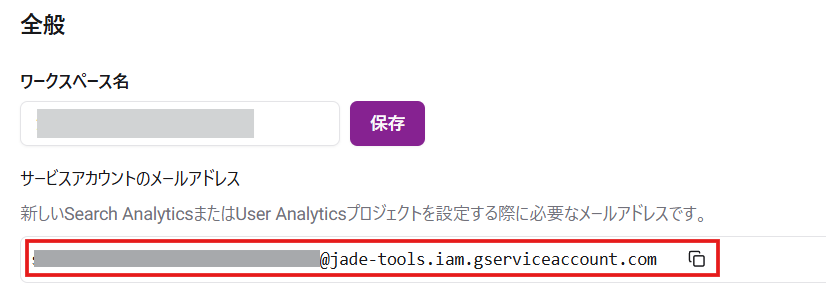
- Click Workspace Settings at the bottom left of the Amethyst screen. Copy the Amethyst service account.
-
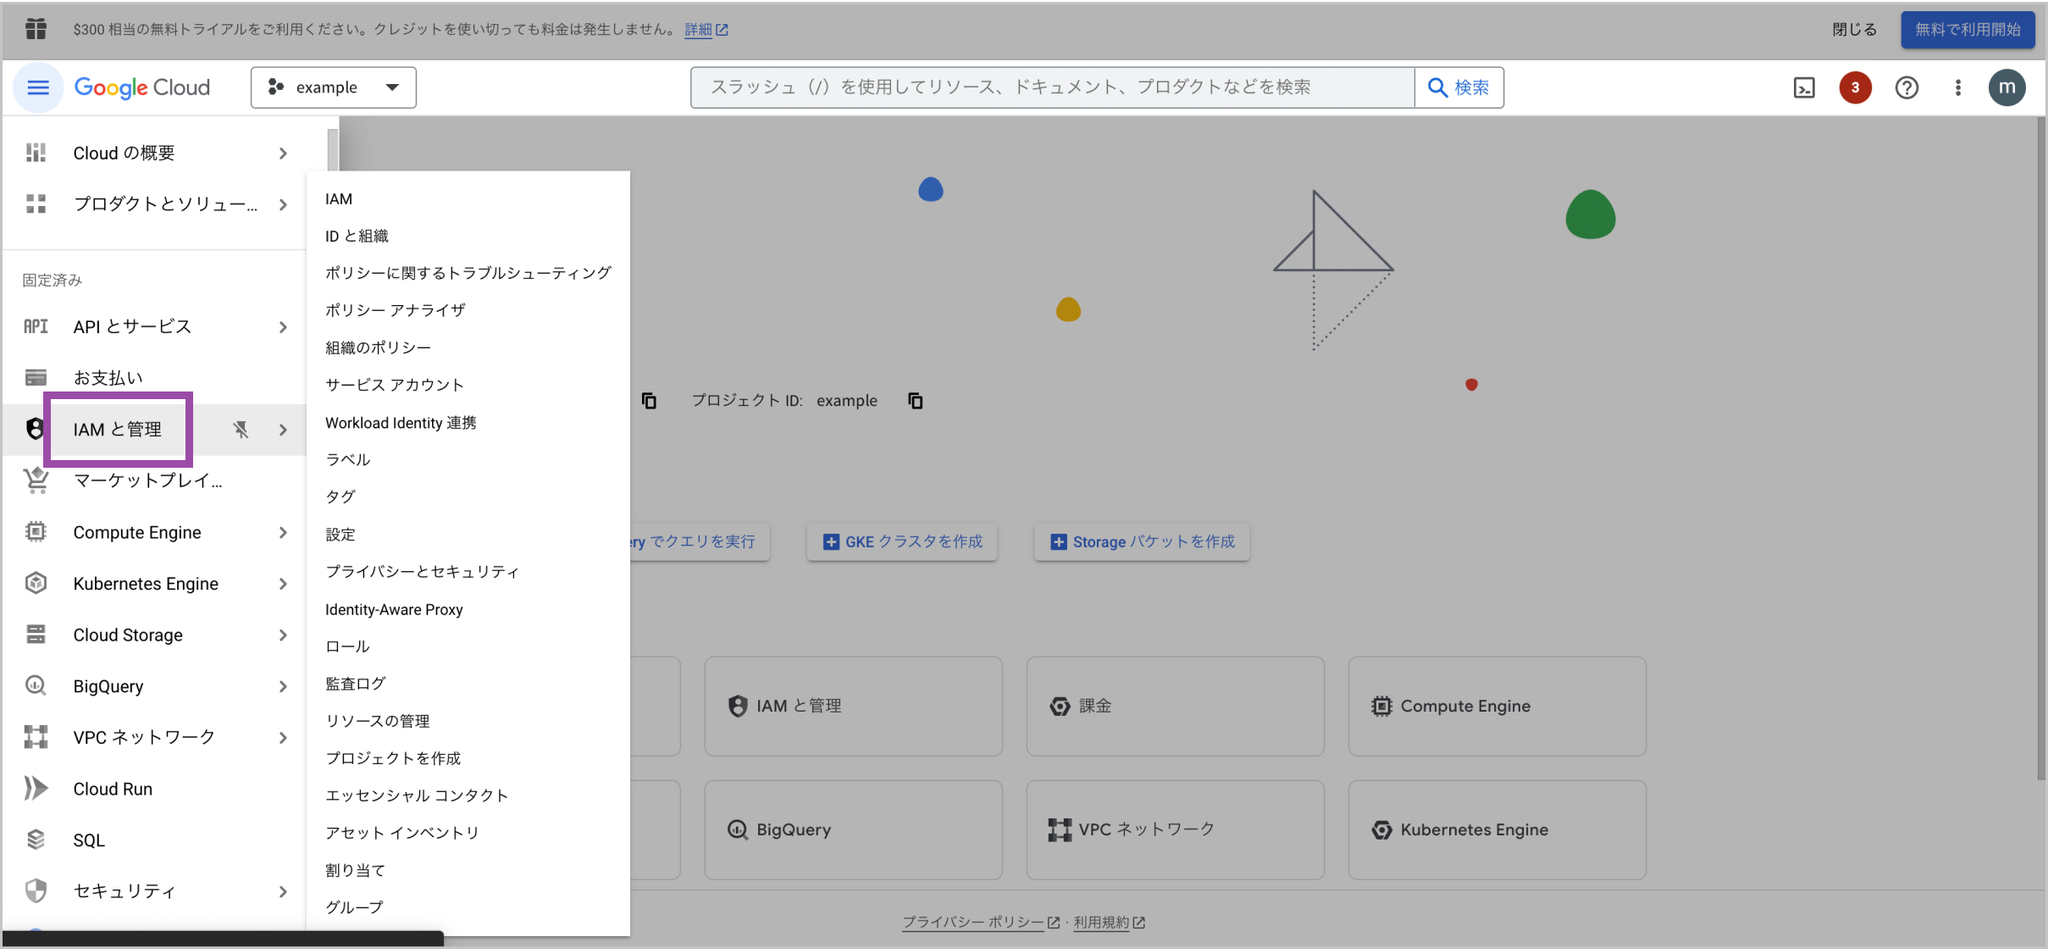
In Google Cloud, select “IAM & Admin” from the left menu.
-
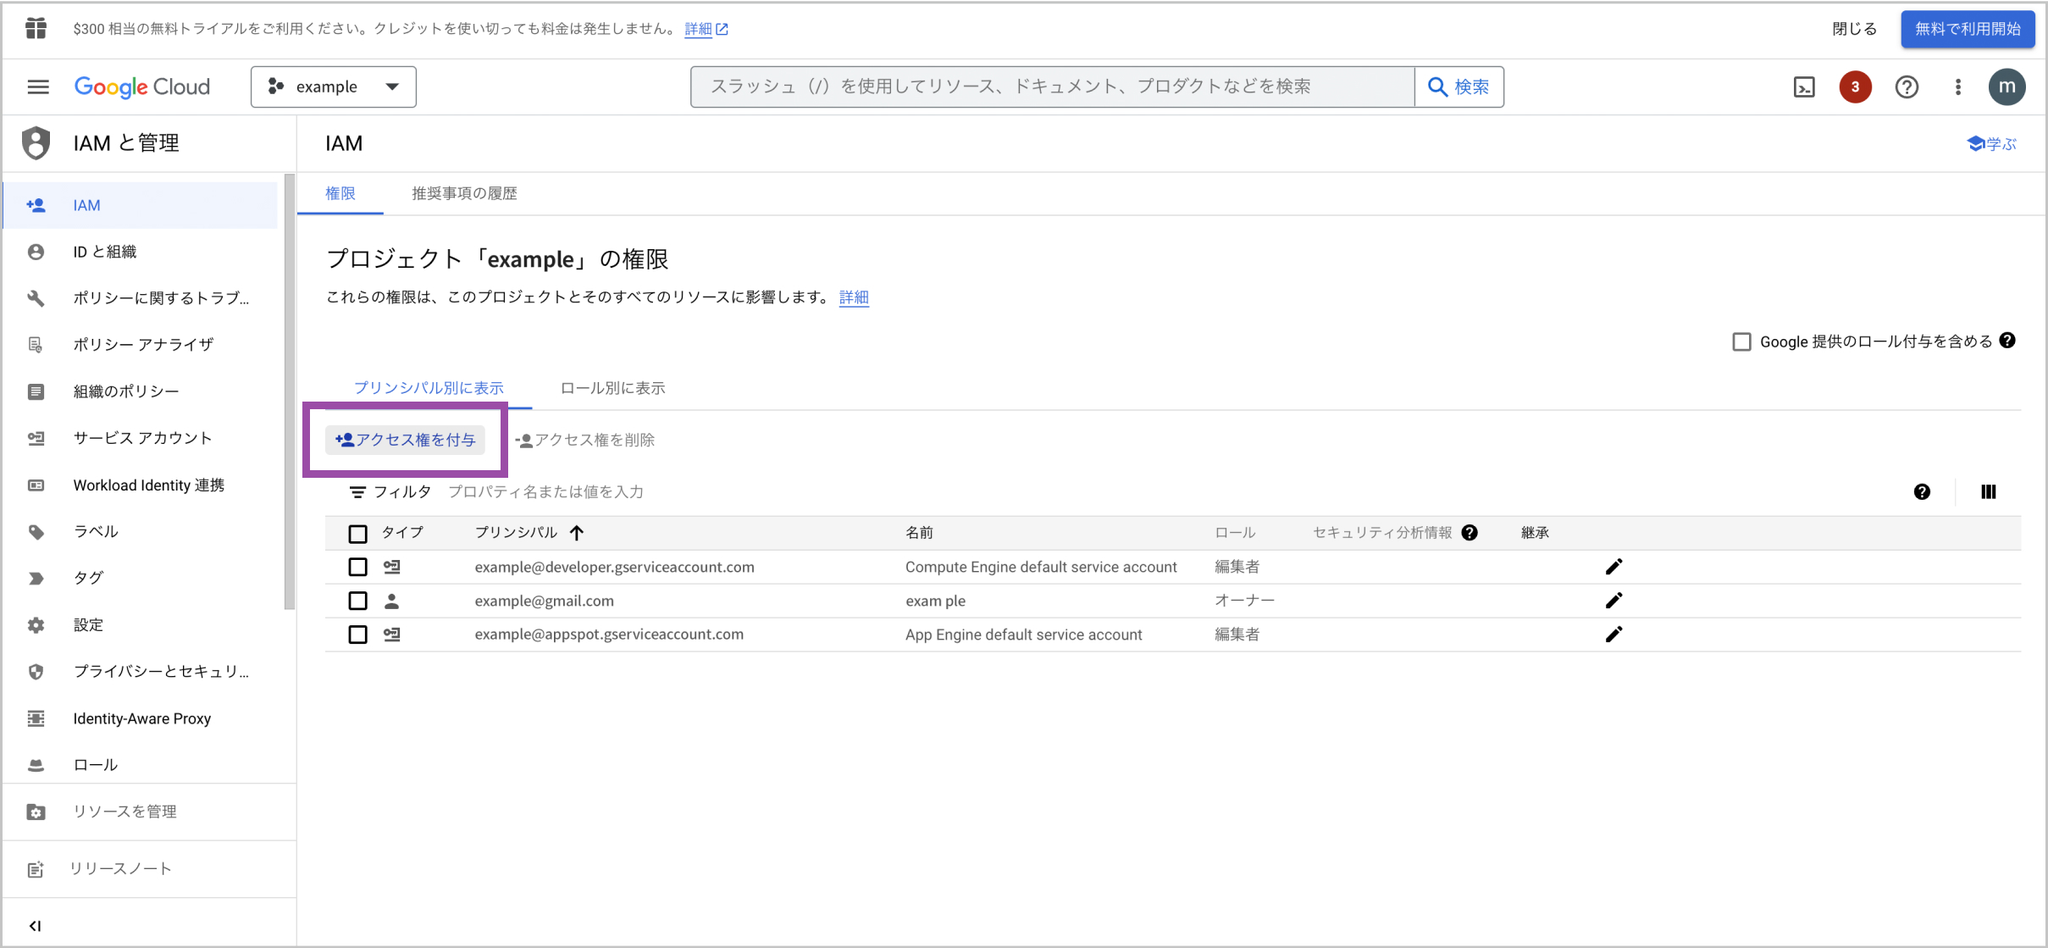
Select “Grant access.”
-
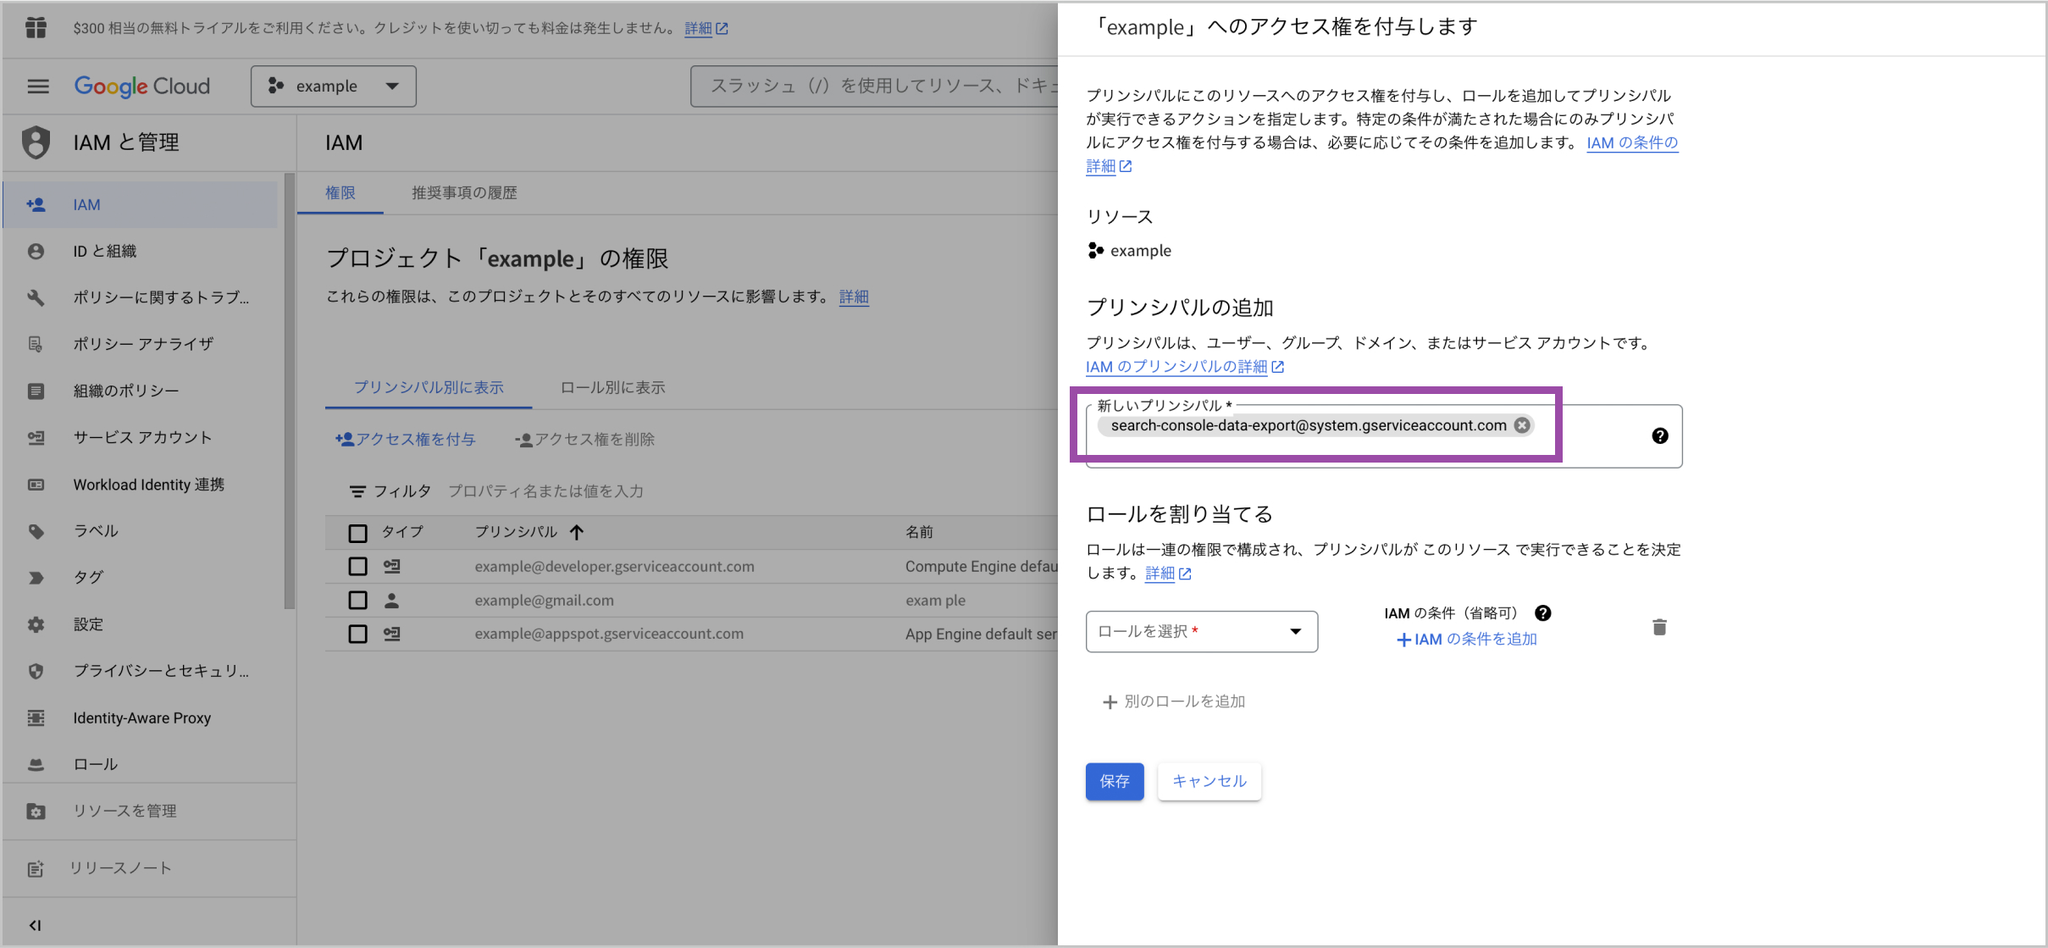
In New principals, paste the account displayed in Amethyst that you copied earlier.
-
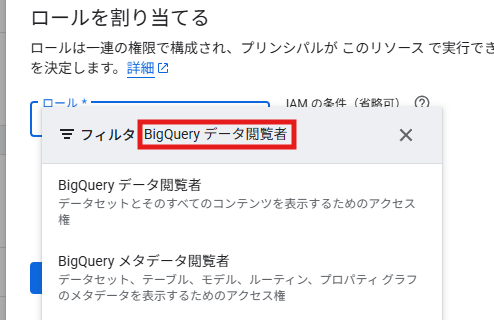
Grant the [BigQuery Data Viewer] role.
✅ It is easier to find if you enter “BigQuery Data Viewer” in the filter.
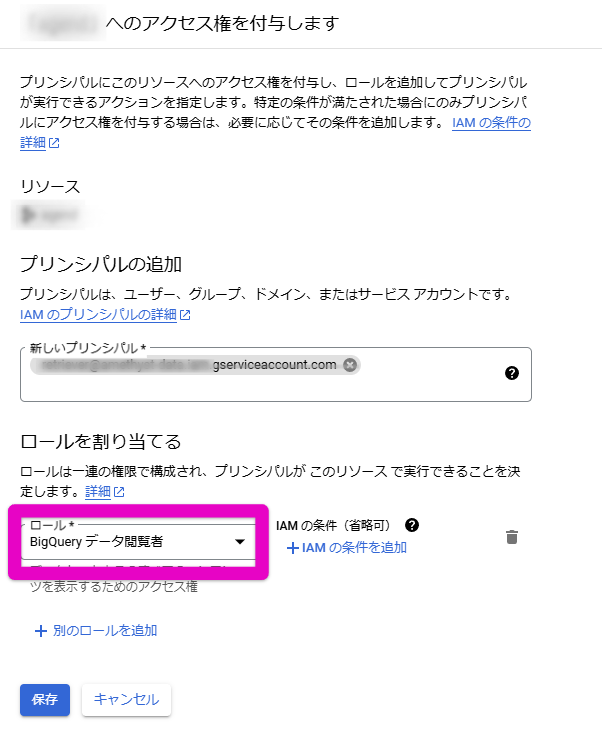
- Click the “Save” button to finish adding the service account.
If policy update fails because of constraints/iam.allowedPolicyMemberDomains
Your organization is configured so that permissions can only be granted to Google accounts from allowed domains, such as your company domain.
Change the Google Cloud “Organization policies” setting with the steps below.
-
Log in to the Google Cloud console. https://console.cloud.google.com/
-
Select the organization. Click the project selector at the top of the screen, then select the target organization from the pull-down list. The organization item shows the domain name.

-
Open the Organization policies page. From the navigation menu (☰) in the upper-left corner, select “IAM & Admin” > “Organization policies.”
-
Search for the “Domain restricted sharing” policy. In the policy list, enter “iam.allowedPolicyMemberDomains” in the filter field.

-
Edit the policy. Click the policy that appears in the search results. When the detail screen opens, click “Edit policy.”
-
Add the allowed domain. Add the new domain with the steps below.
- Select “Customize.”
- Select “Merge” instead of “Replace” to merge the new policy with the existing policy. Be careful: choosing “Replace” removes the existing domains.
- Click “Add rule.”
- For “Policy value,” select “Allow.”
- For “Policy type,” select “Custom.”
- In the “Custom value” field, enter the domain to allow (
jade-tools.iam.gserviceaccount.com), then click “Done.” - Finally, click “Save” at the bottom of the screen to apply the policy.
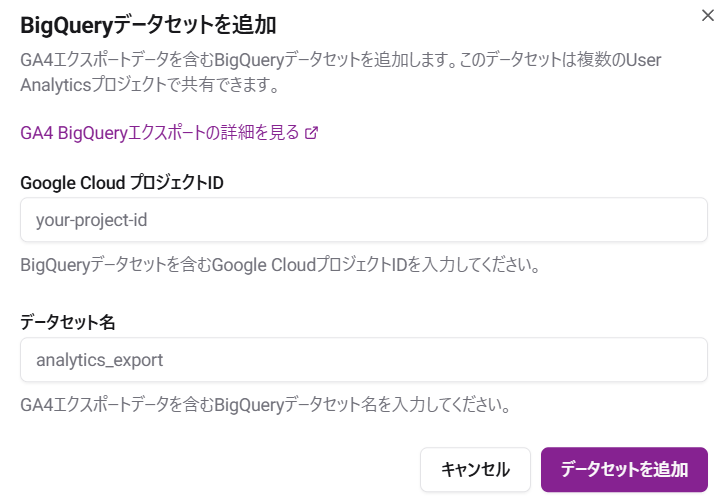
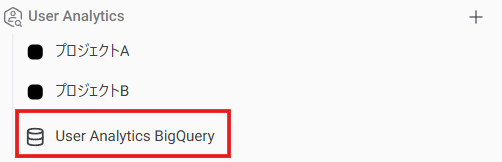
- From here, continue in Amethyst. Click User Analytics BigQuery. Click “Add Dataset” in the top right of the screen.


- Enter the Google Cloud project ID and BigQuery dataset name, then click the [Add Dataset] button.
How to check the project ID and dataset name
-
From the left navigation menu (≡) in Google Cloud Console, select “BigQuery.”
-
When the BigQuery UI opens, look at the “Explorer” panel on the left.
-
Click the
>icon to the left of your project name, either the project ID or project name you checked above, to expand it. -
The items shown under the project are dataset names.
-
Hover over the dataset name, then click the vertical three-dot menu (︙) that appears on the right. Select “Copy ID” to copy it to the clipboard in the
project-id.dataset_nameformat.
⚠️ Enter only the project ID in the project ID field, and only the dataset name in the dataset name field.
In the image example, for examp-le.searchconsole, examp-le is the project ID (outlined with a solid line), and searchconsole is the dataset name (outlined with a dotted line).
💡 User Analytics becomes available a few hours after you click the [Add Dataset] button.
Configure Key Events
Section titled “Configure Key Events”Next, configure key events so that CV count and CVR are displayed.